
So I’ve had a few friends request the recipe of my no knead whole wheat bread. So first it’s based on this loaf:
Chef John makes a tasty loaf, but I feel I made a bunch of improvements.
So first up, since food blogs suck, I’ll give you the very basics, then I’ll bust out the tecnique.
Ingredients
.25 Teaspoon Dry yeast
1 Cup Whole Wheat Flour
3 Cups AP Flour
1 Teaspoon salt
2 cups water
OPTIONAL 2 Tablespoons of Olive Oil or Butter, see Update Below
And in the end you’ll be baking this at 450F for about 30 mins.
Ok so onto the step-by-step.
Step 1, the Yeast!
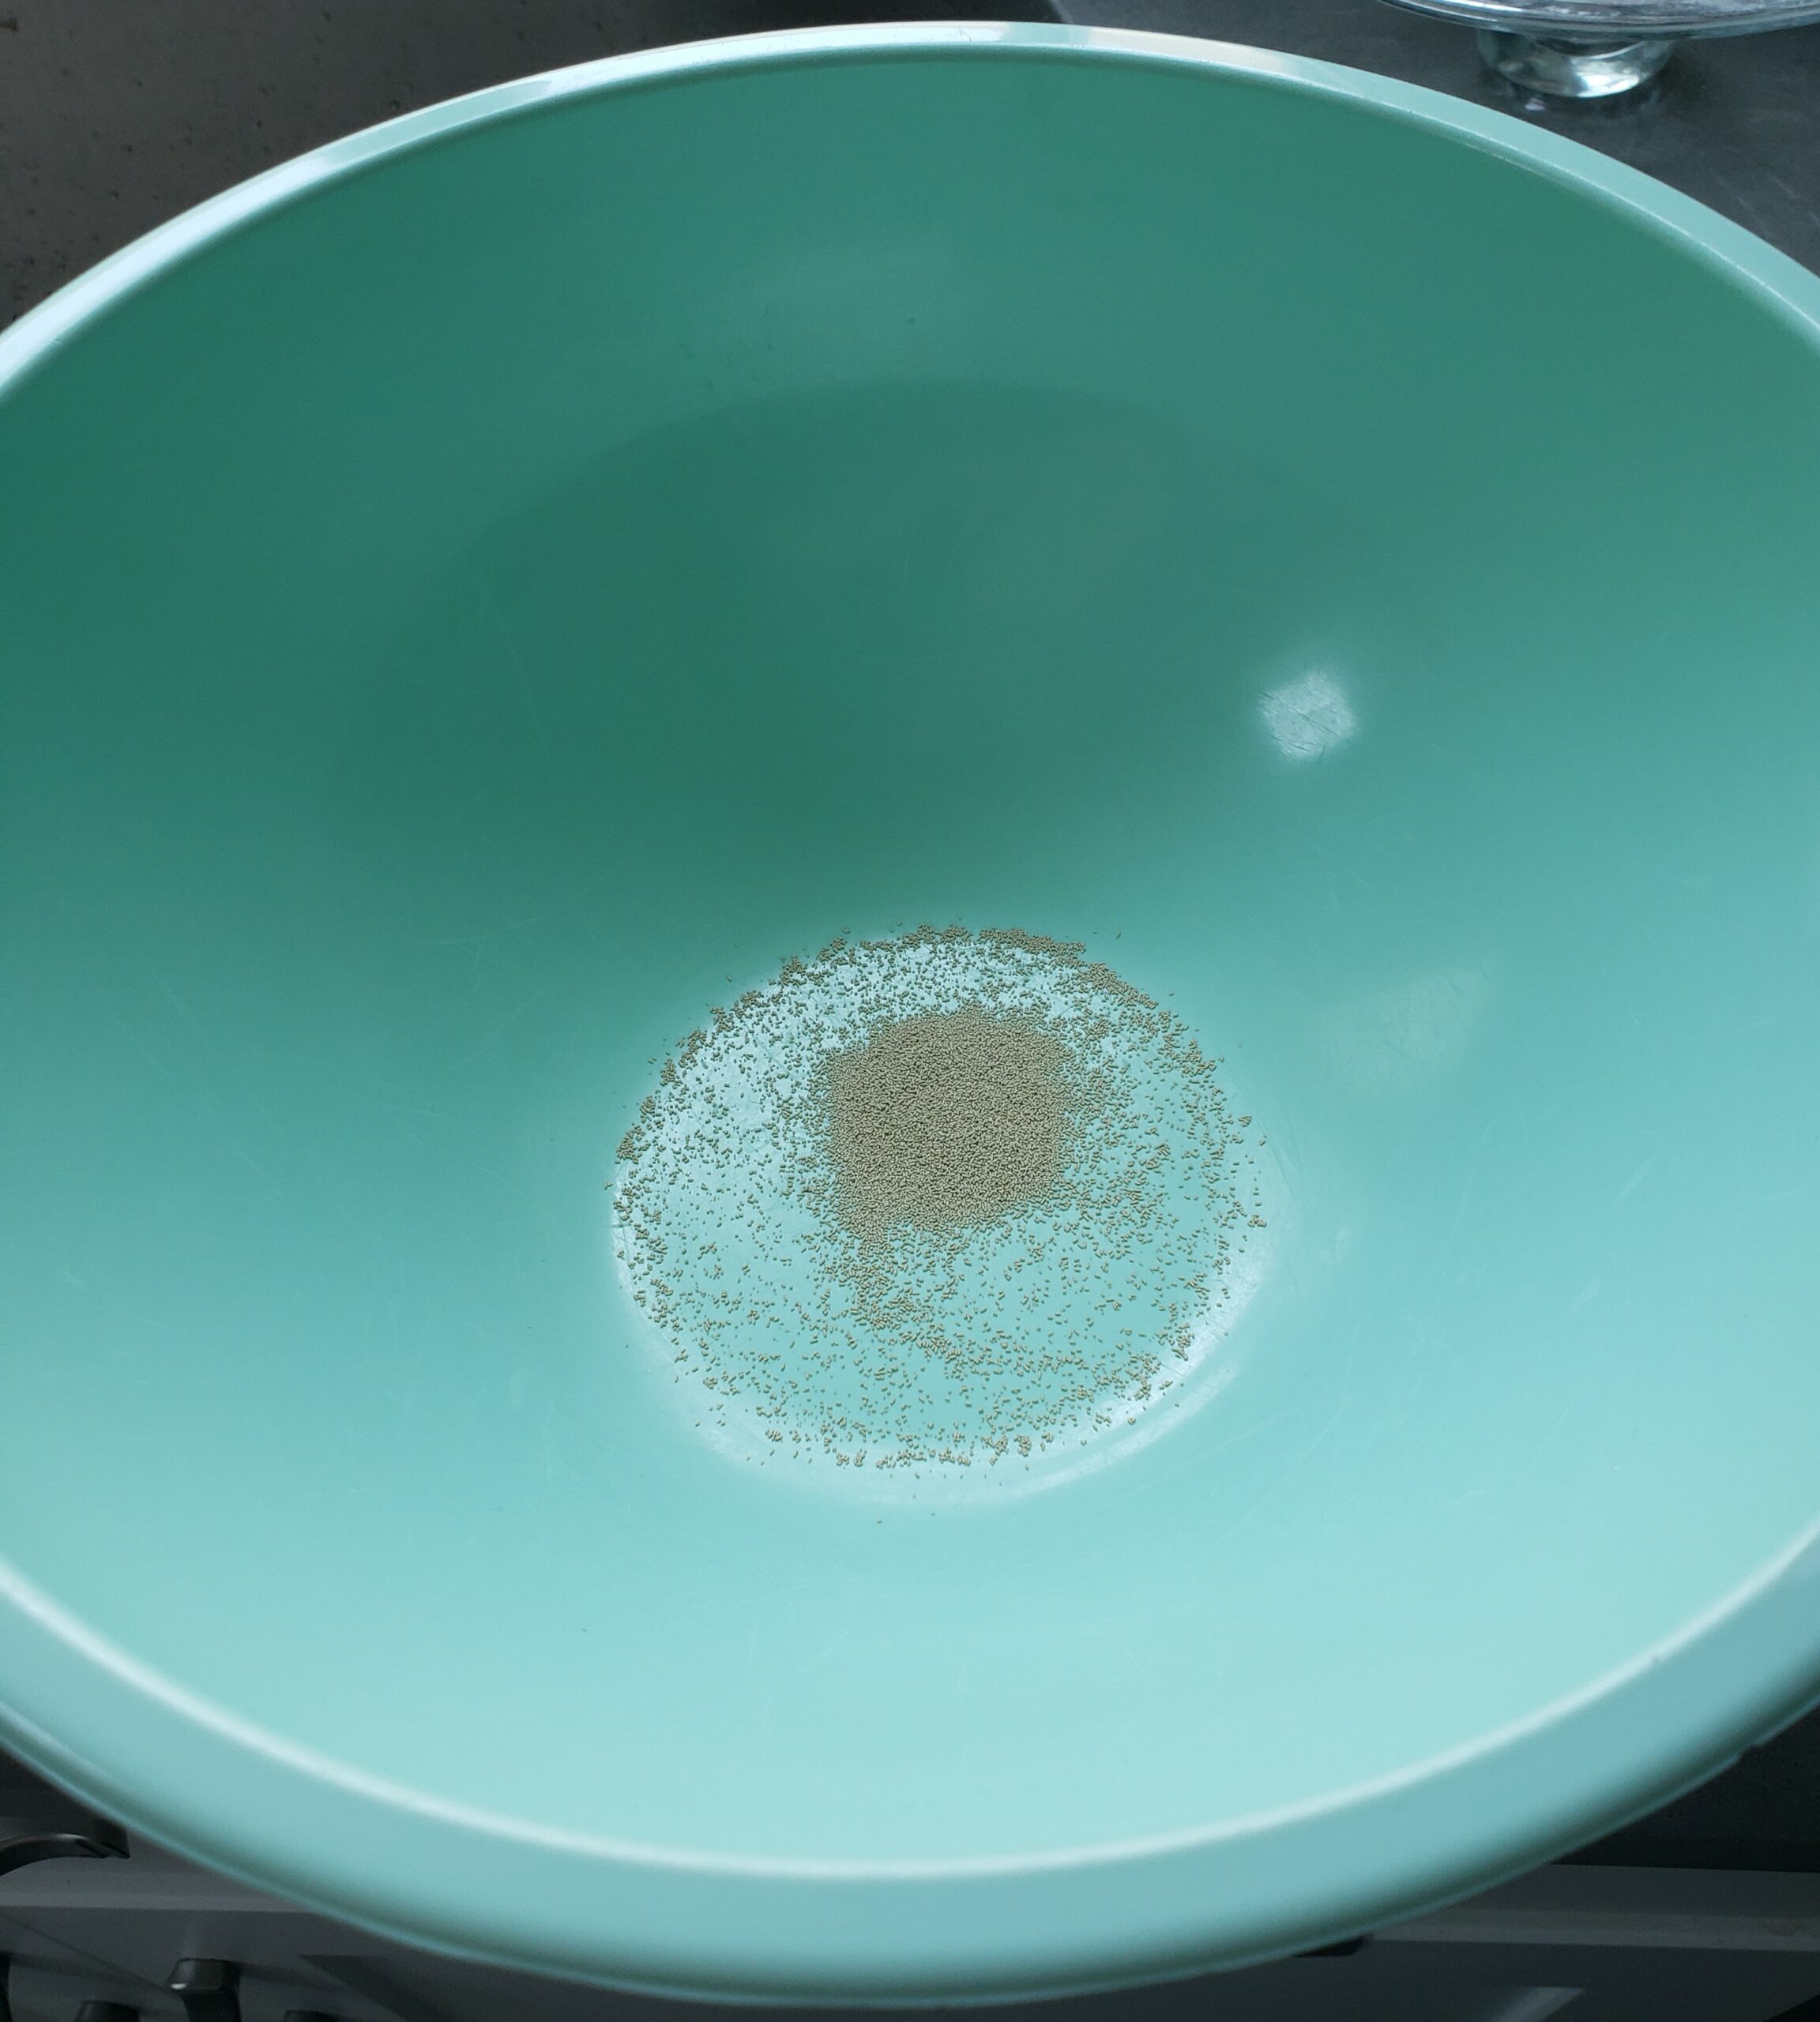
A quarter Teaspoon, it isn’t much, this means you get more bread out of a jar of yeast, or you can take one of those packets of yeast and make 8 loaves!
Now add the flour, THEN the salt, THEN the water. This will prevent the salt from killing your yeast.
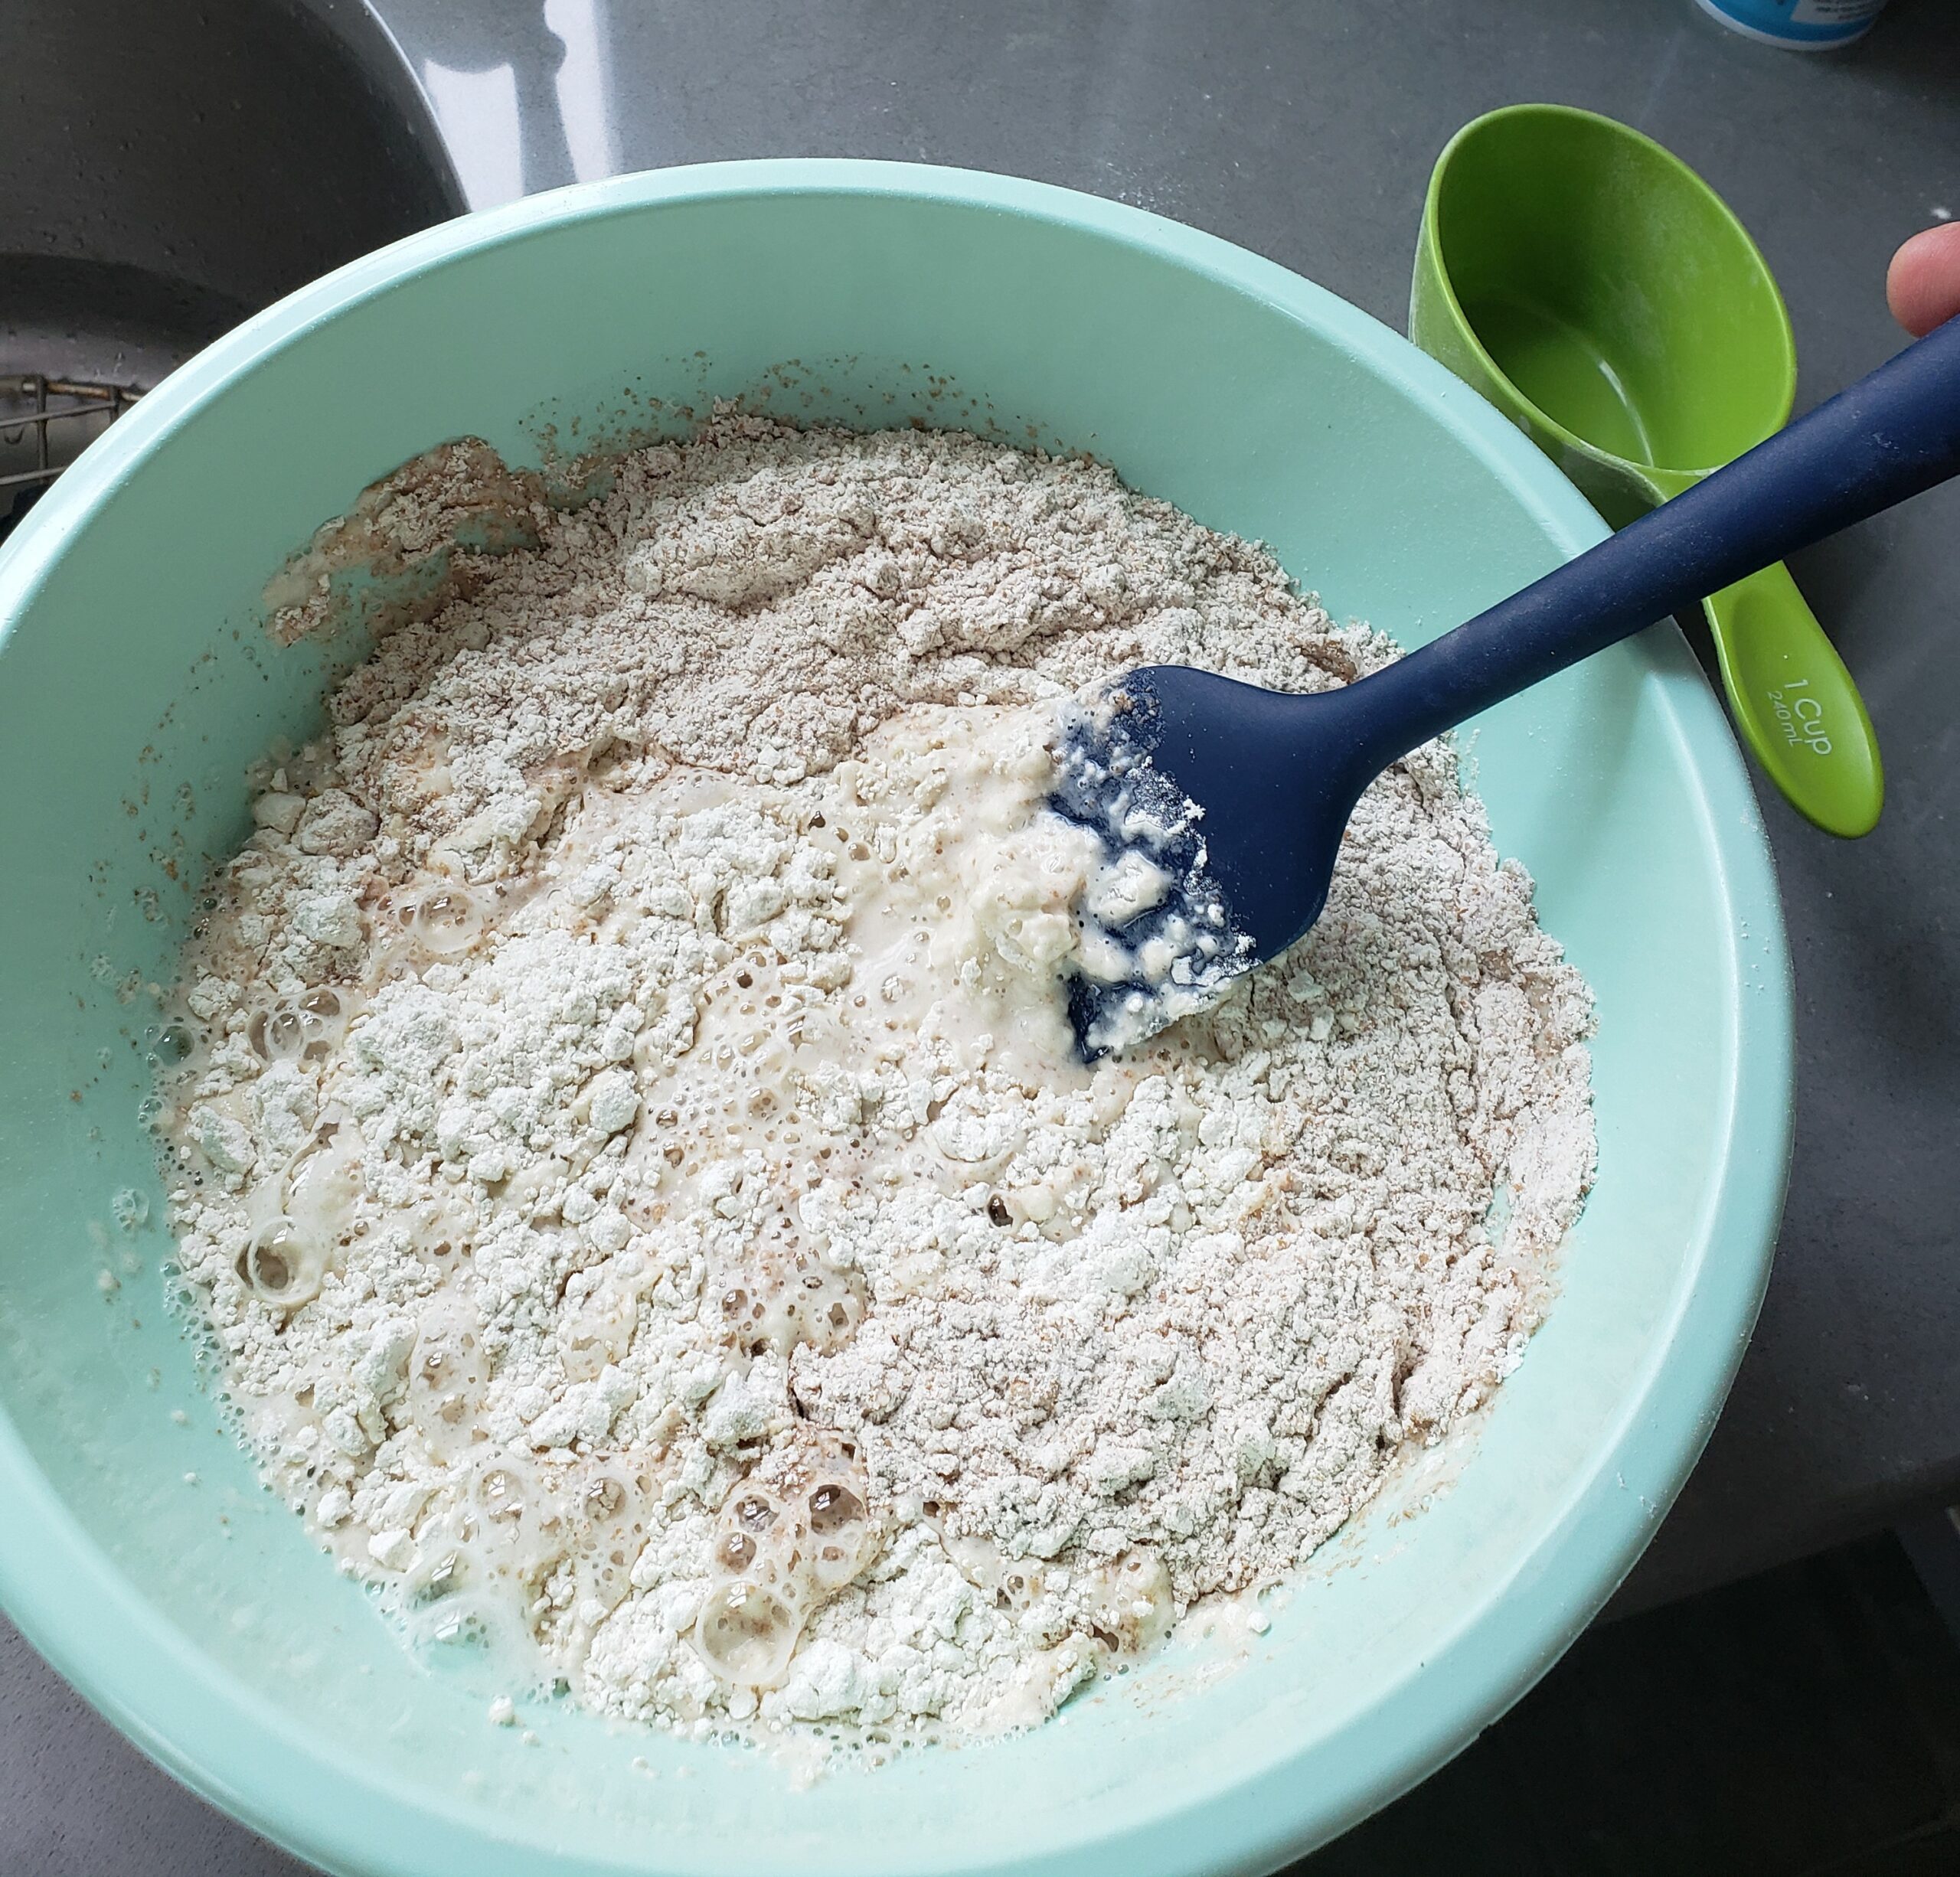
Now all that’s left is mixing the ingredients well!
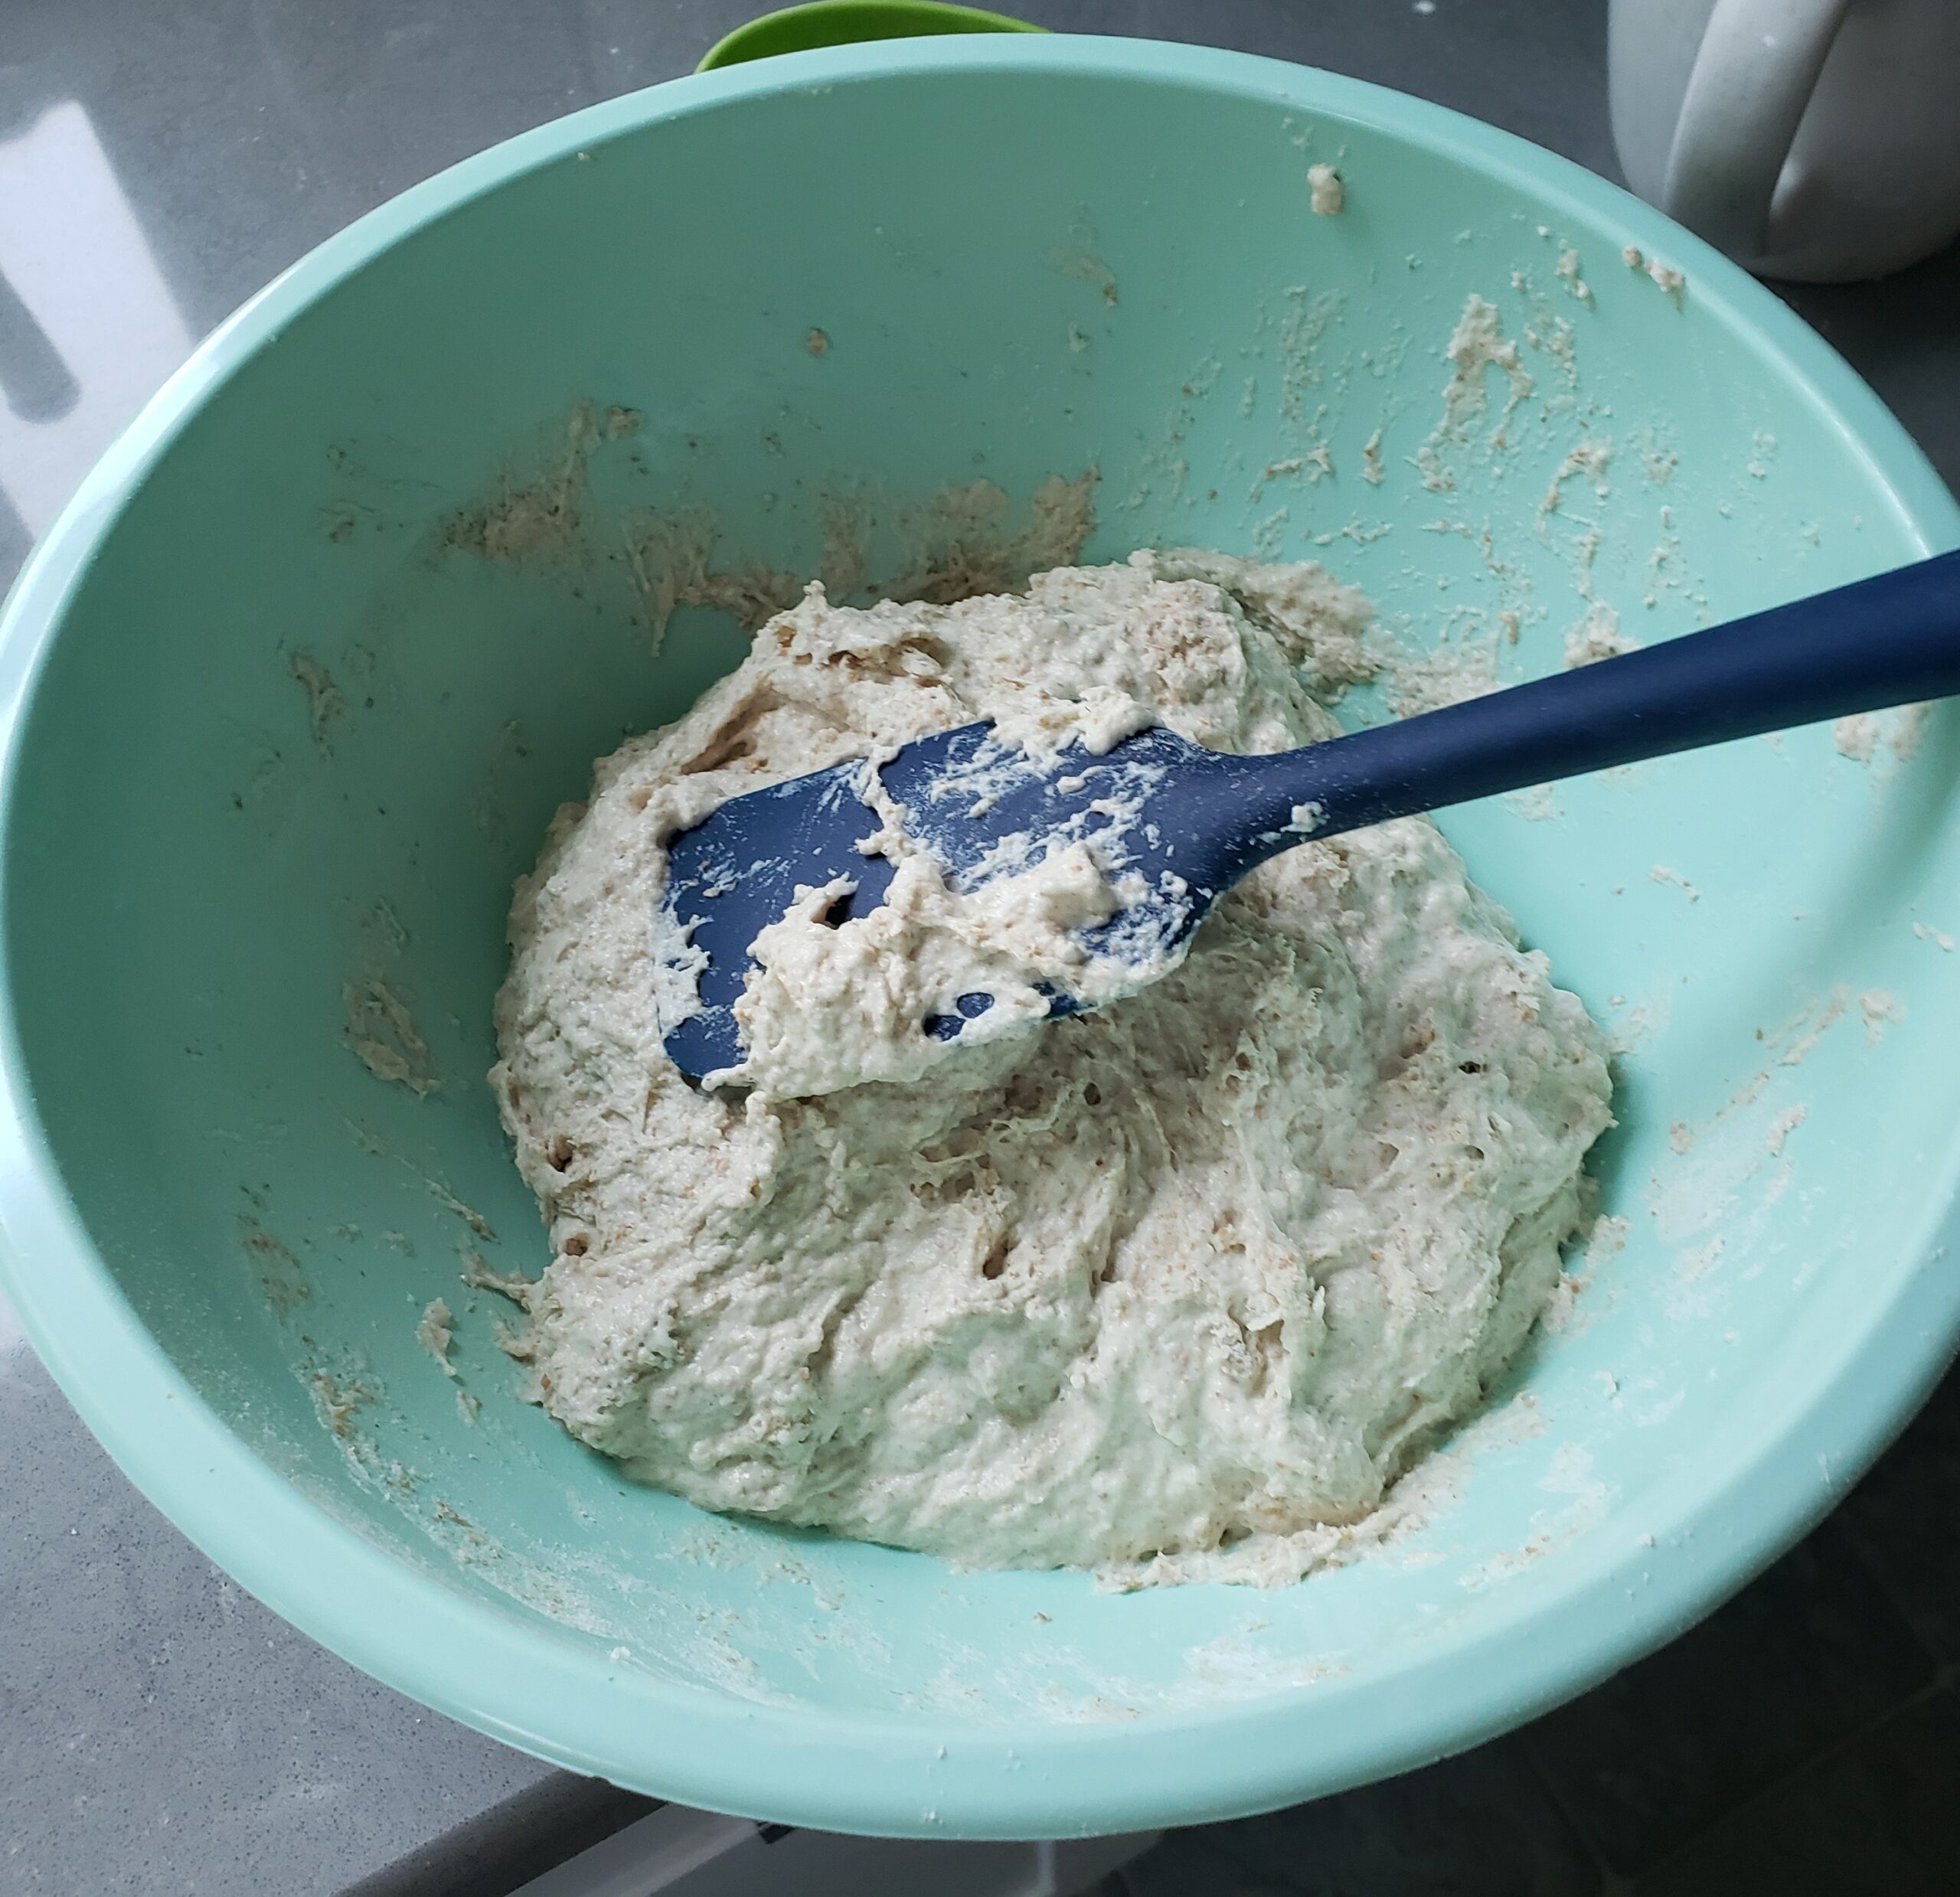
This being a no-knead recipe you don’t need to spend any time kneading the dough or using a mixer, just make sure ALL the flour is wet, and nothing is stuck to the bottom of the bowl.
Then you cover the bowl (I prefer to use a plate so I’m not throwing away foil or plastic wrap, whatever you do make sure it keeps in the humidity, but also isn’t so tight that gas pressure can escape.
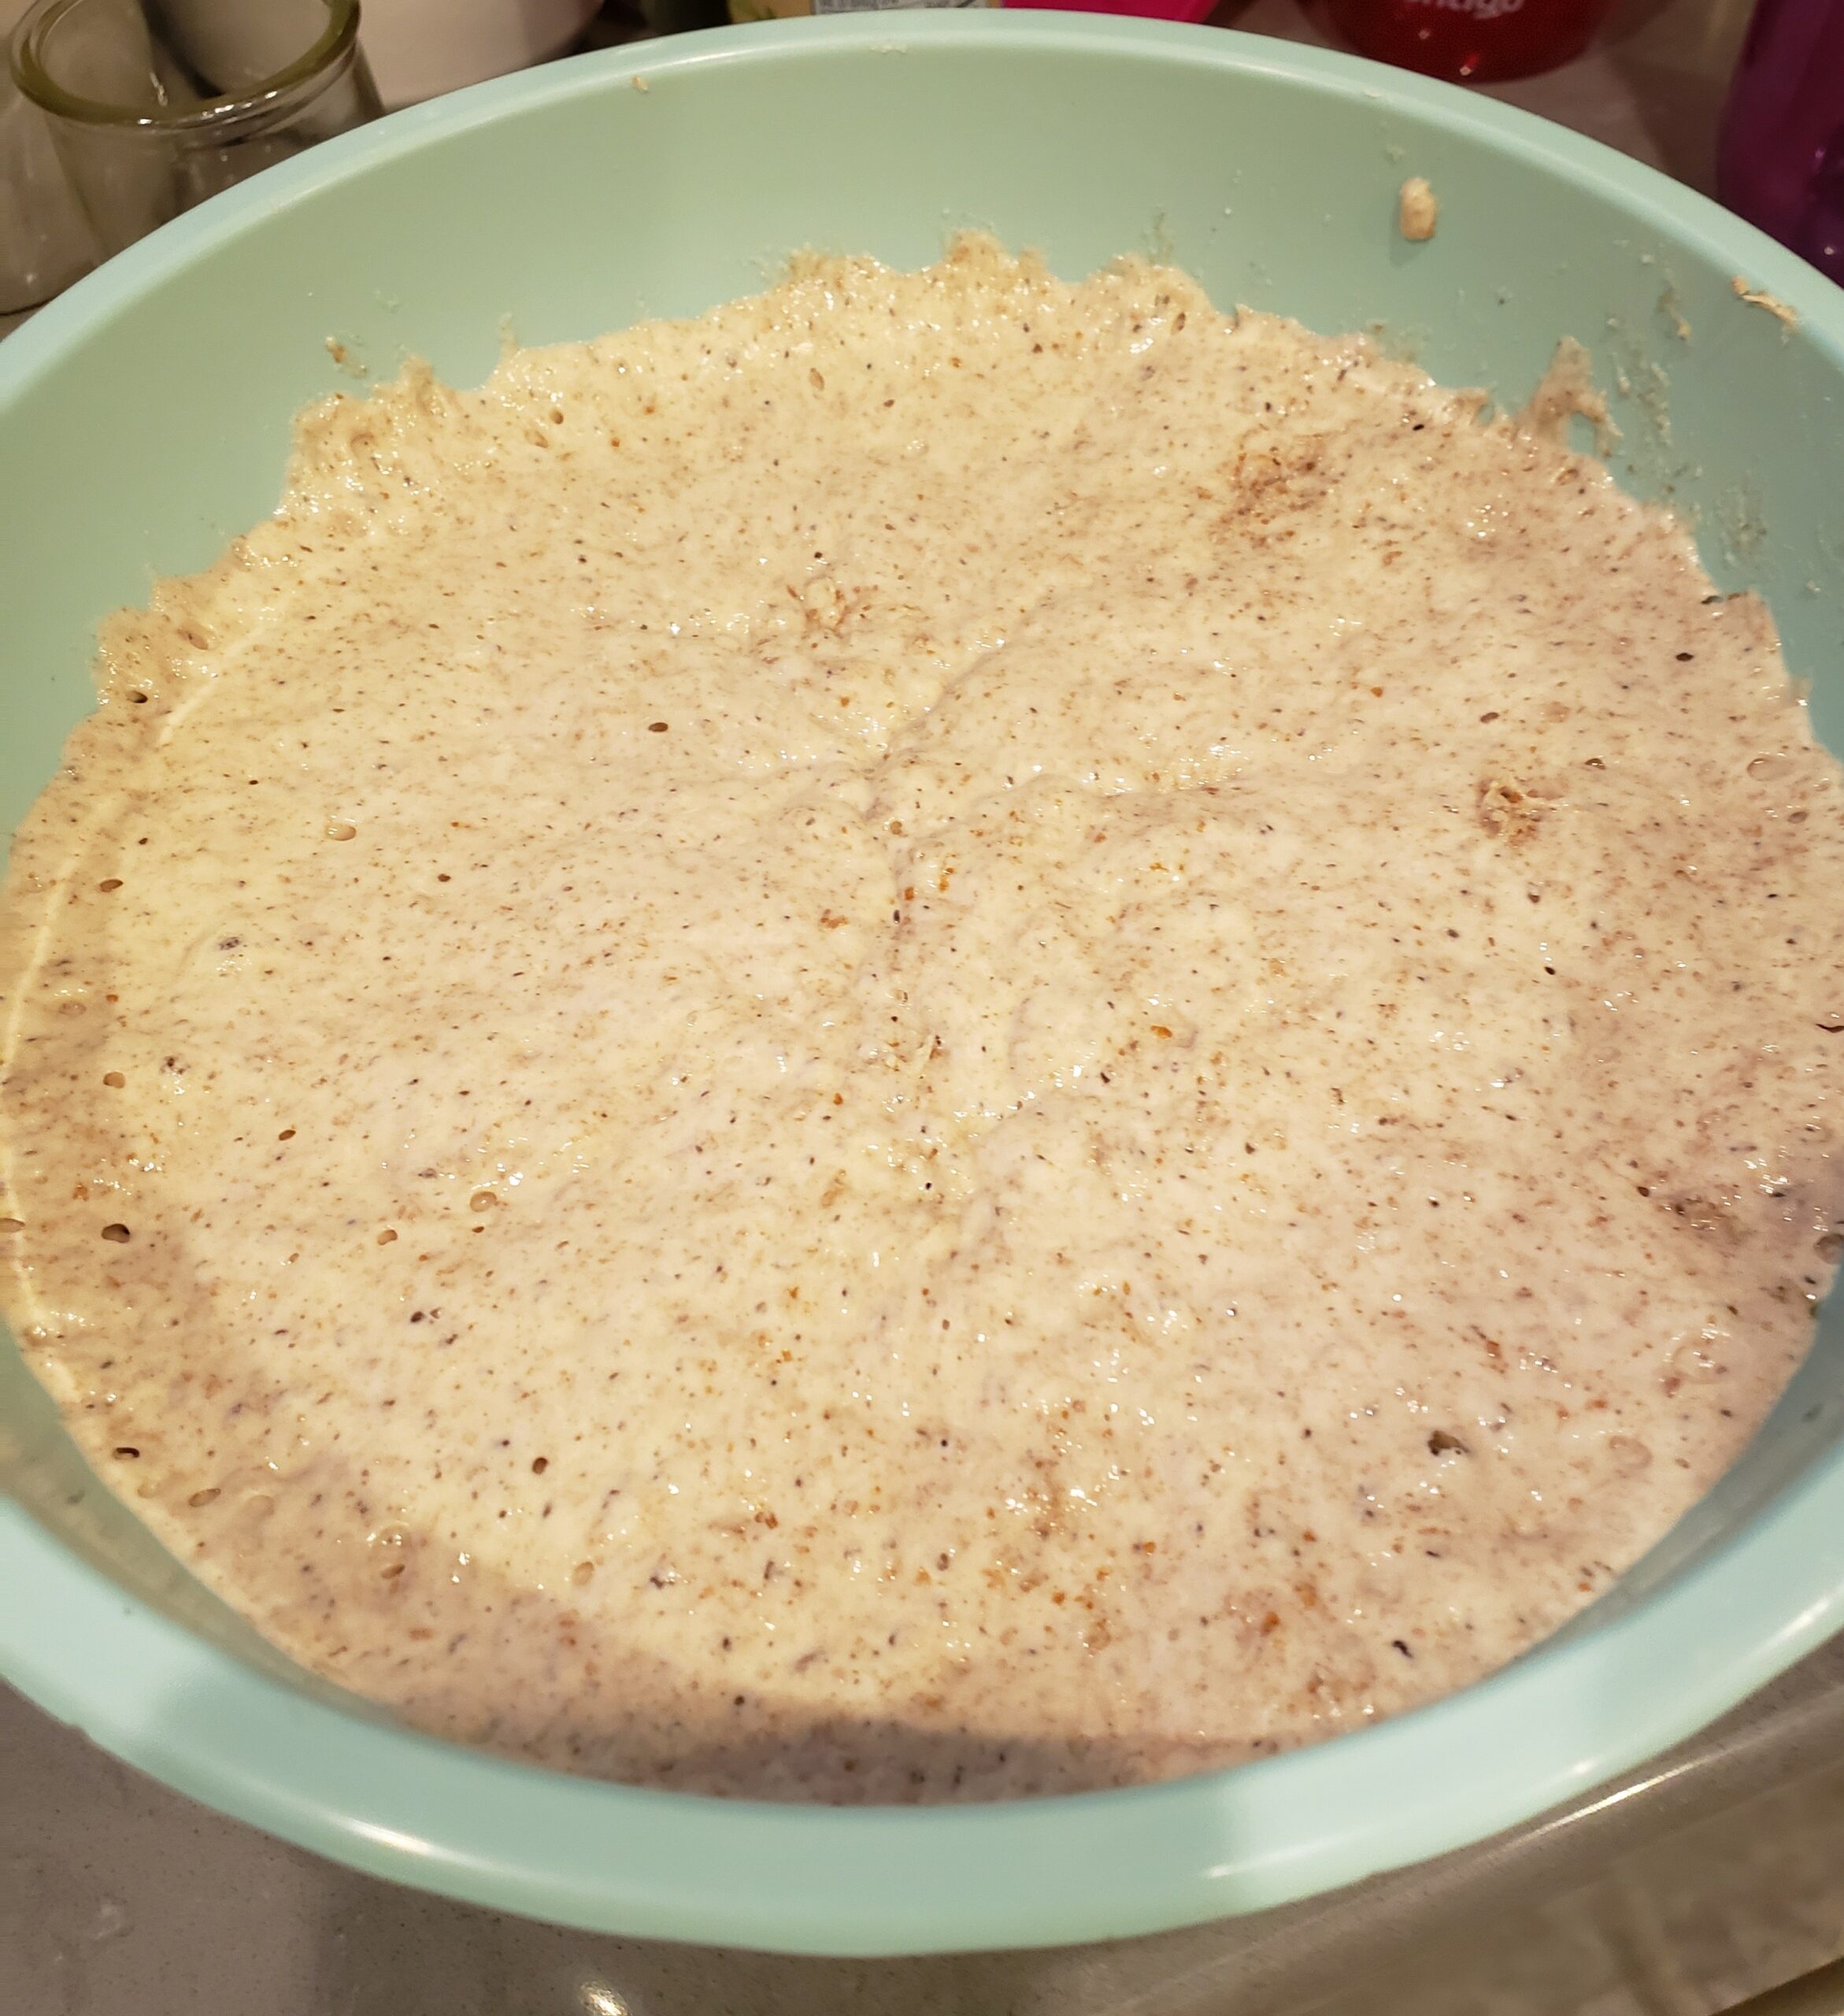
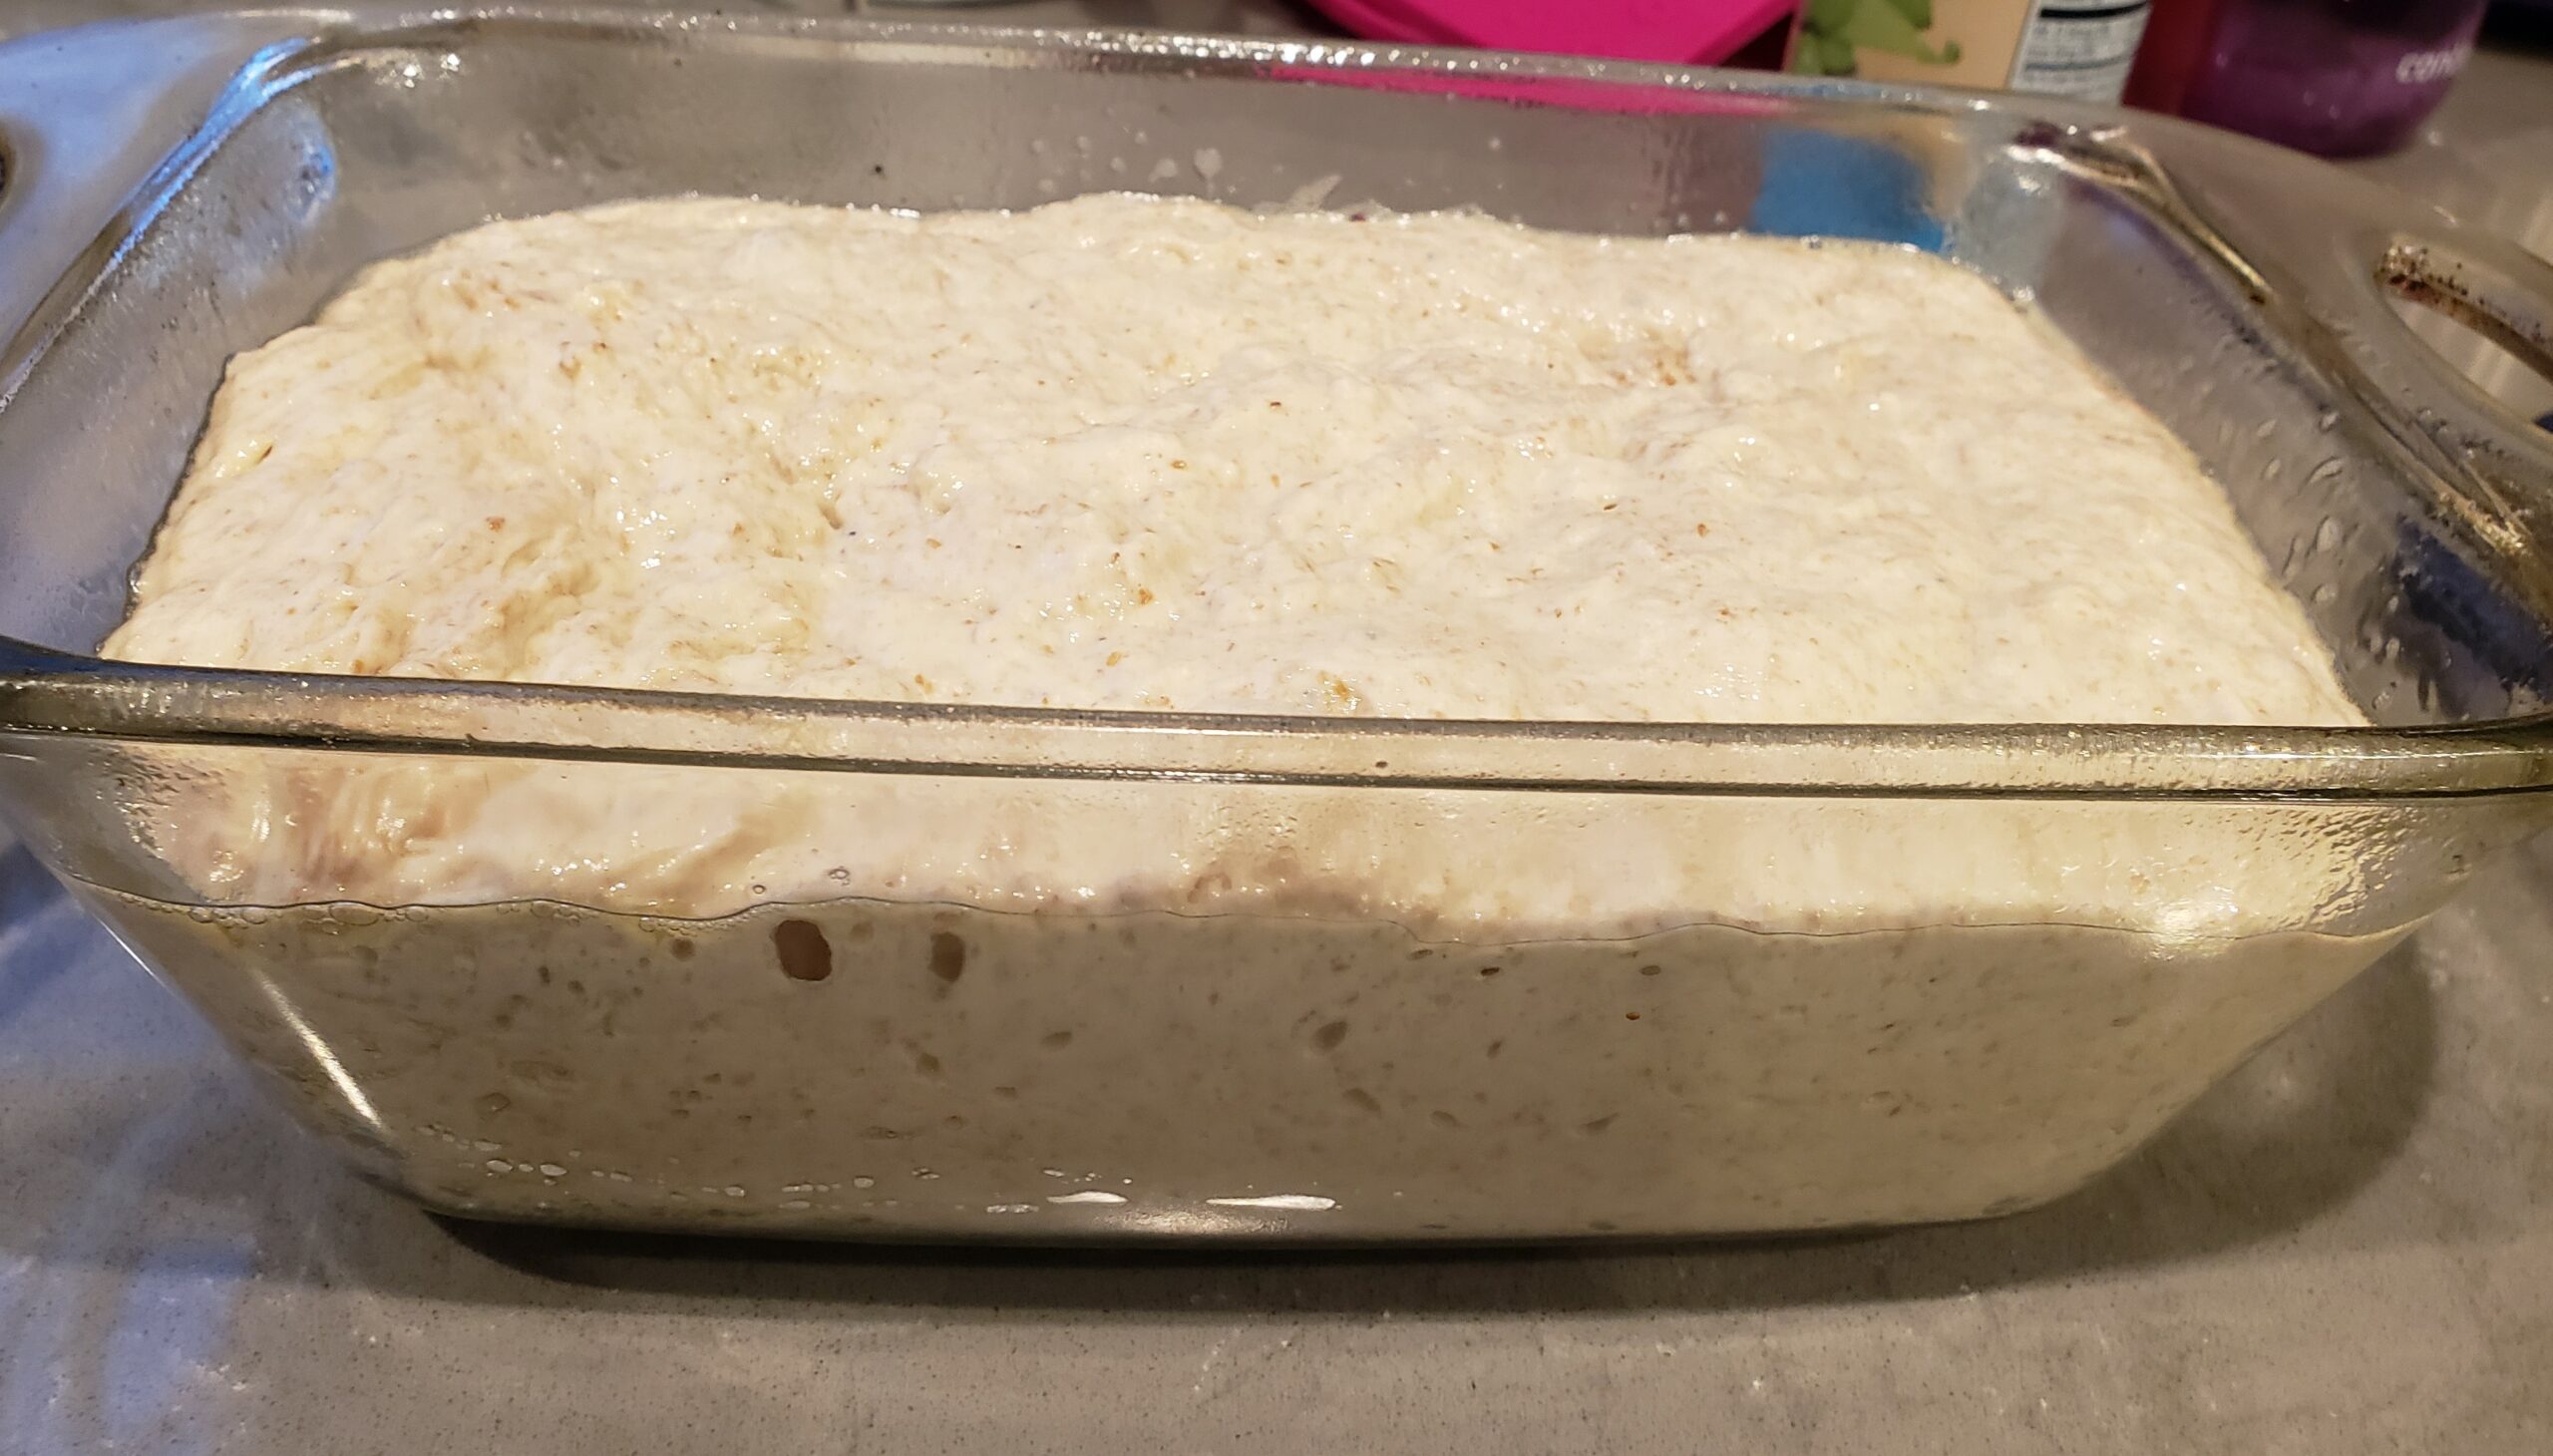
Then let it double in size. Depending on temperatures this can take 4-10 hours, but you really let this step take as long as you want. I’ve let this dough go for over 24 hours, and you can put it in your refrigerator and let it rise for a week if you want.
Either way when your dough looks like this, you’re doing fine!
So now pour it into a GREASED loaf pan. I use ALL CAPS because DO NOT SKIP THE GREASE, a little spray of cooking spray will save you a LOT of trouble later.
Now cover the pan, and let it proof essentially until it’s almost climbing back out of the bowl. This yeast should be going crazy so this won’t take long, 10-20 mins. One big difference between Chef John’s and my loaf is his shaped loaf needs to be diligently watched because an over-proofed loaf will be like a giant pancake. In the pan, the only risk is the dough climbing out of the pan and making a mess.
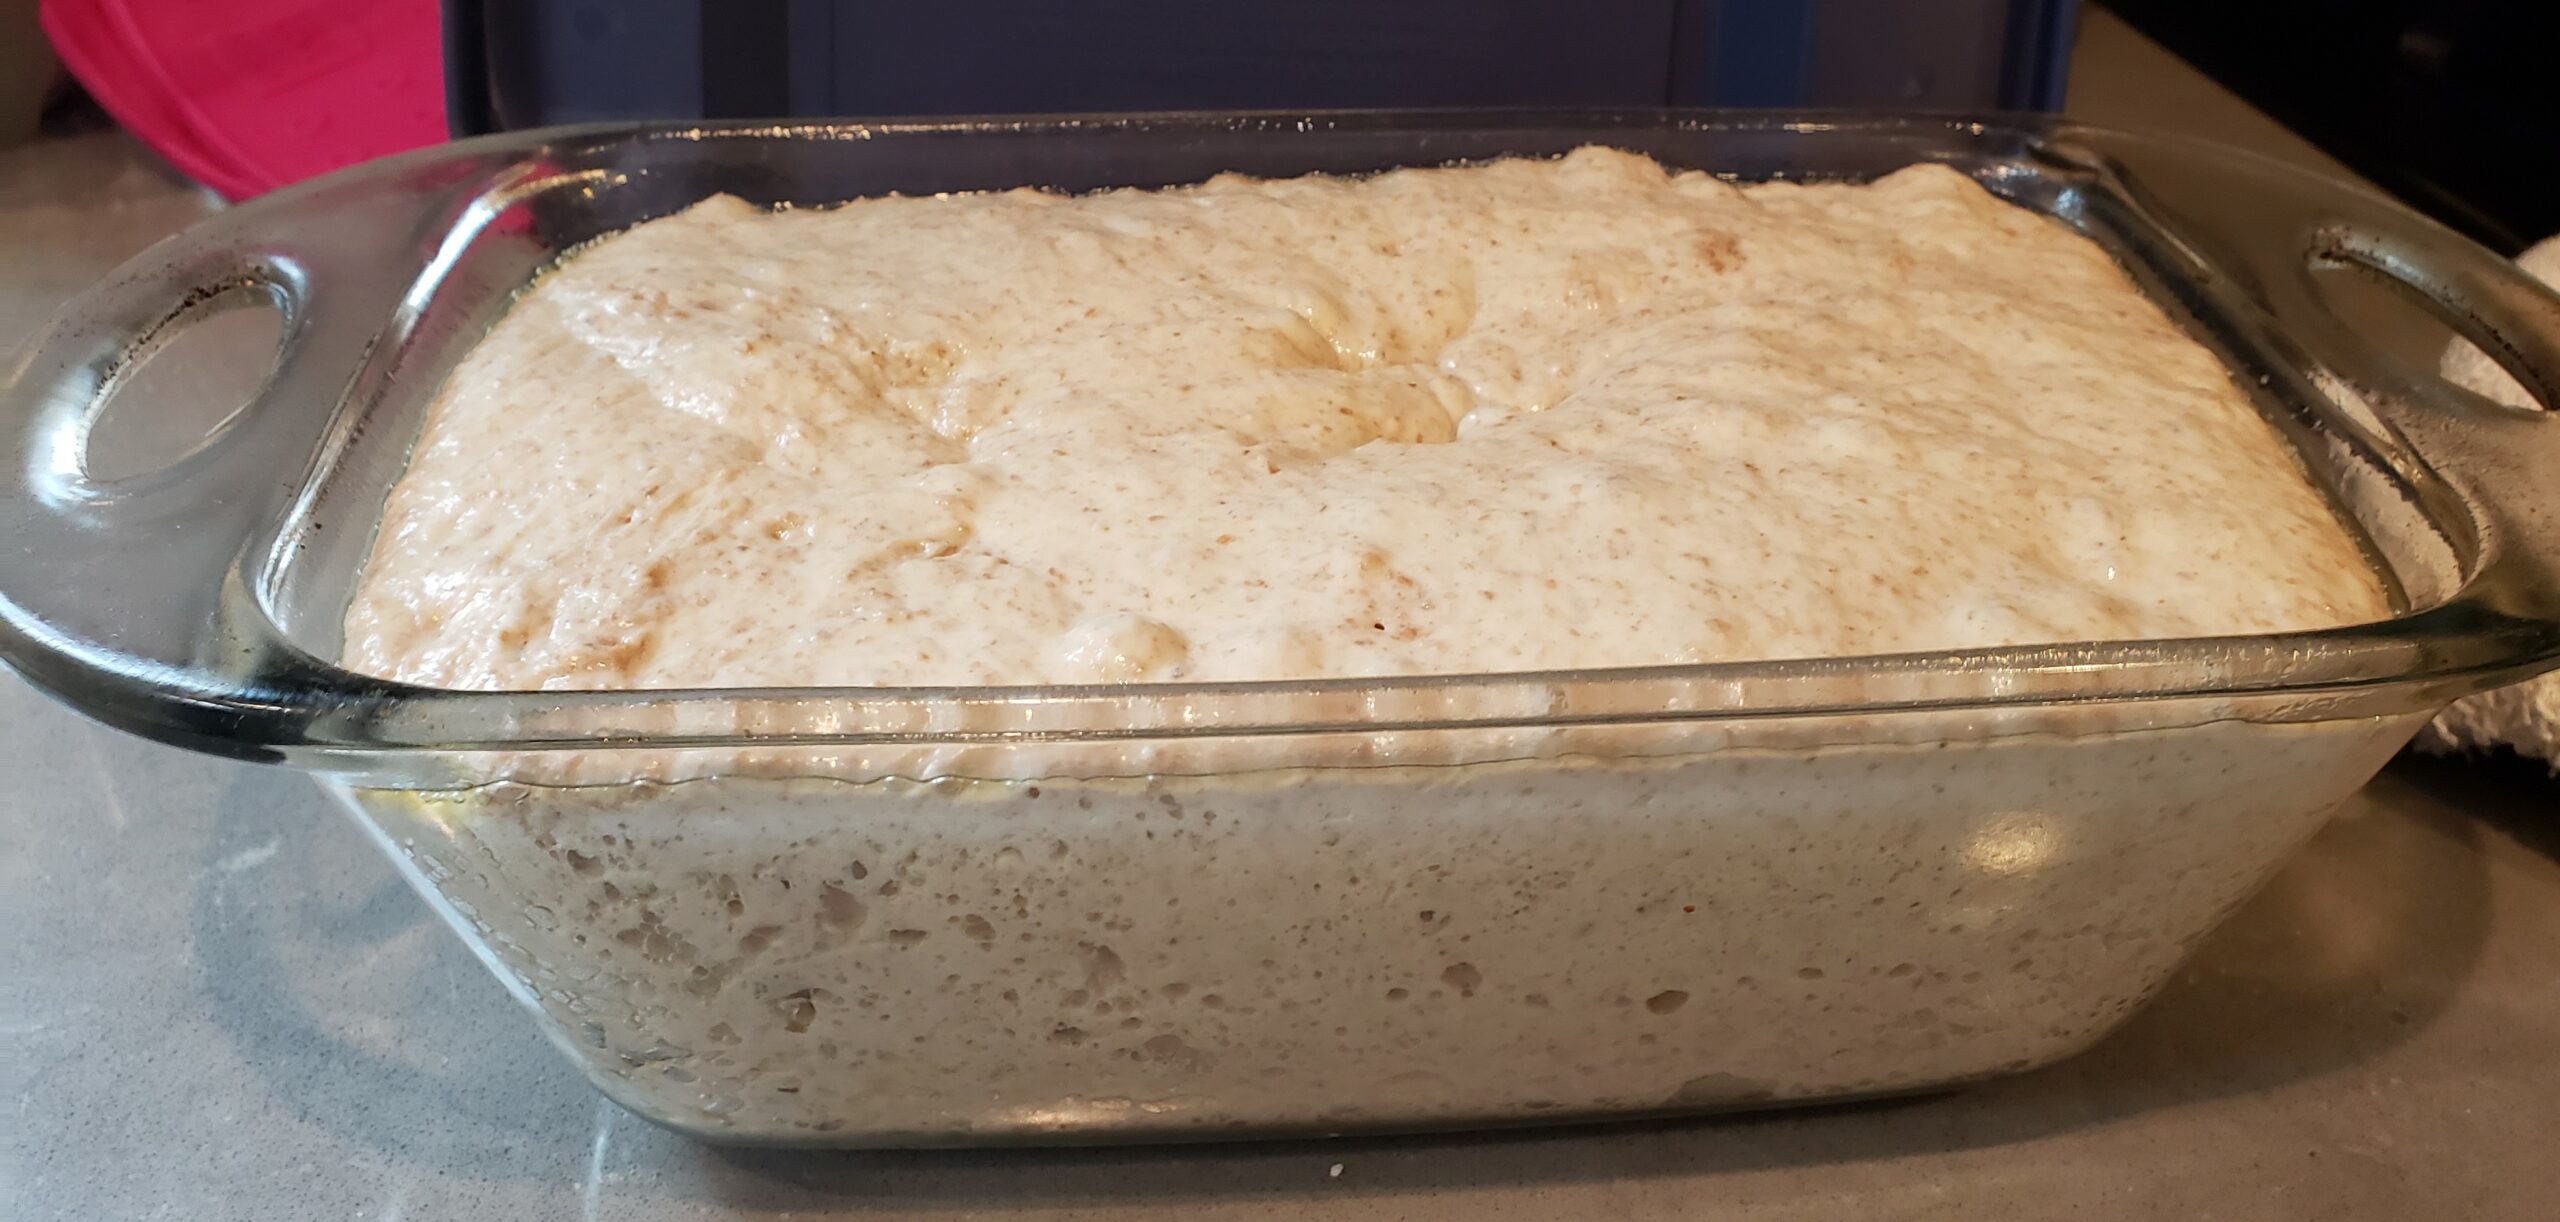
This one could have gone a bit longer, but when it looks like this picture you can start pre-heating your oven for 450F. When your oven is hot, put the loaf in and give it at least 30 mins, but I go for closer to 33, but your oven may be differnt. Then Voila!
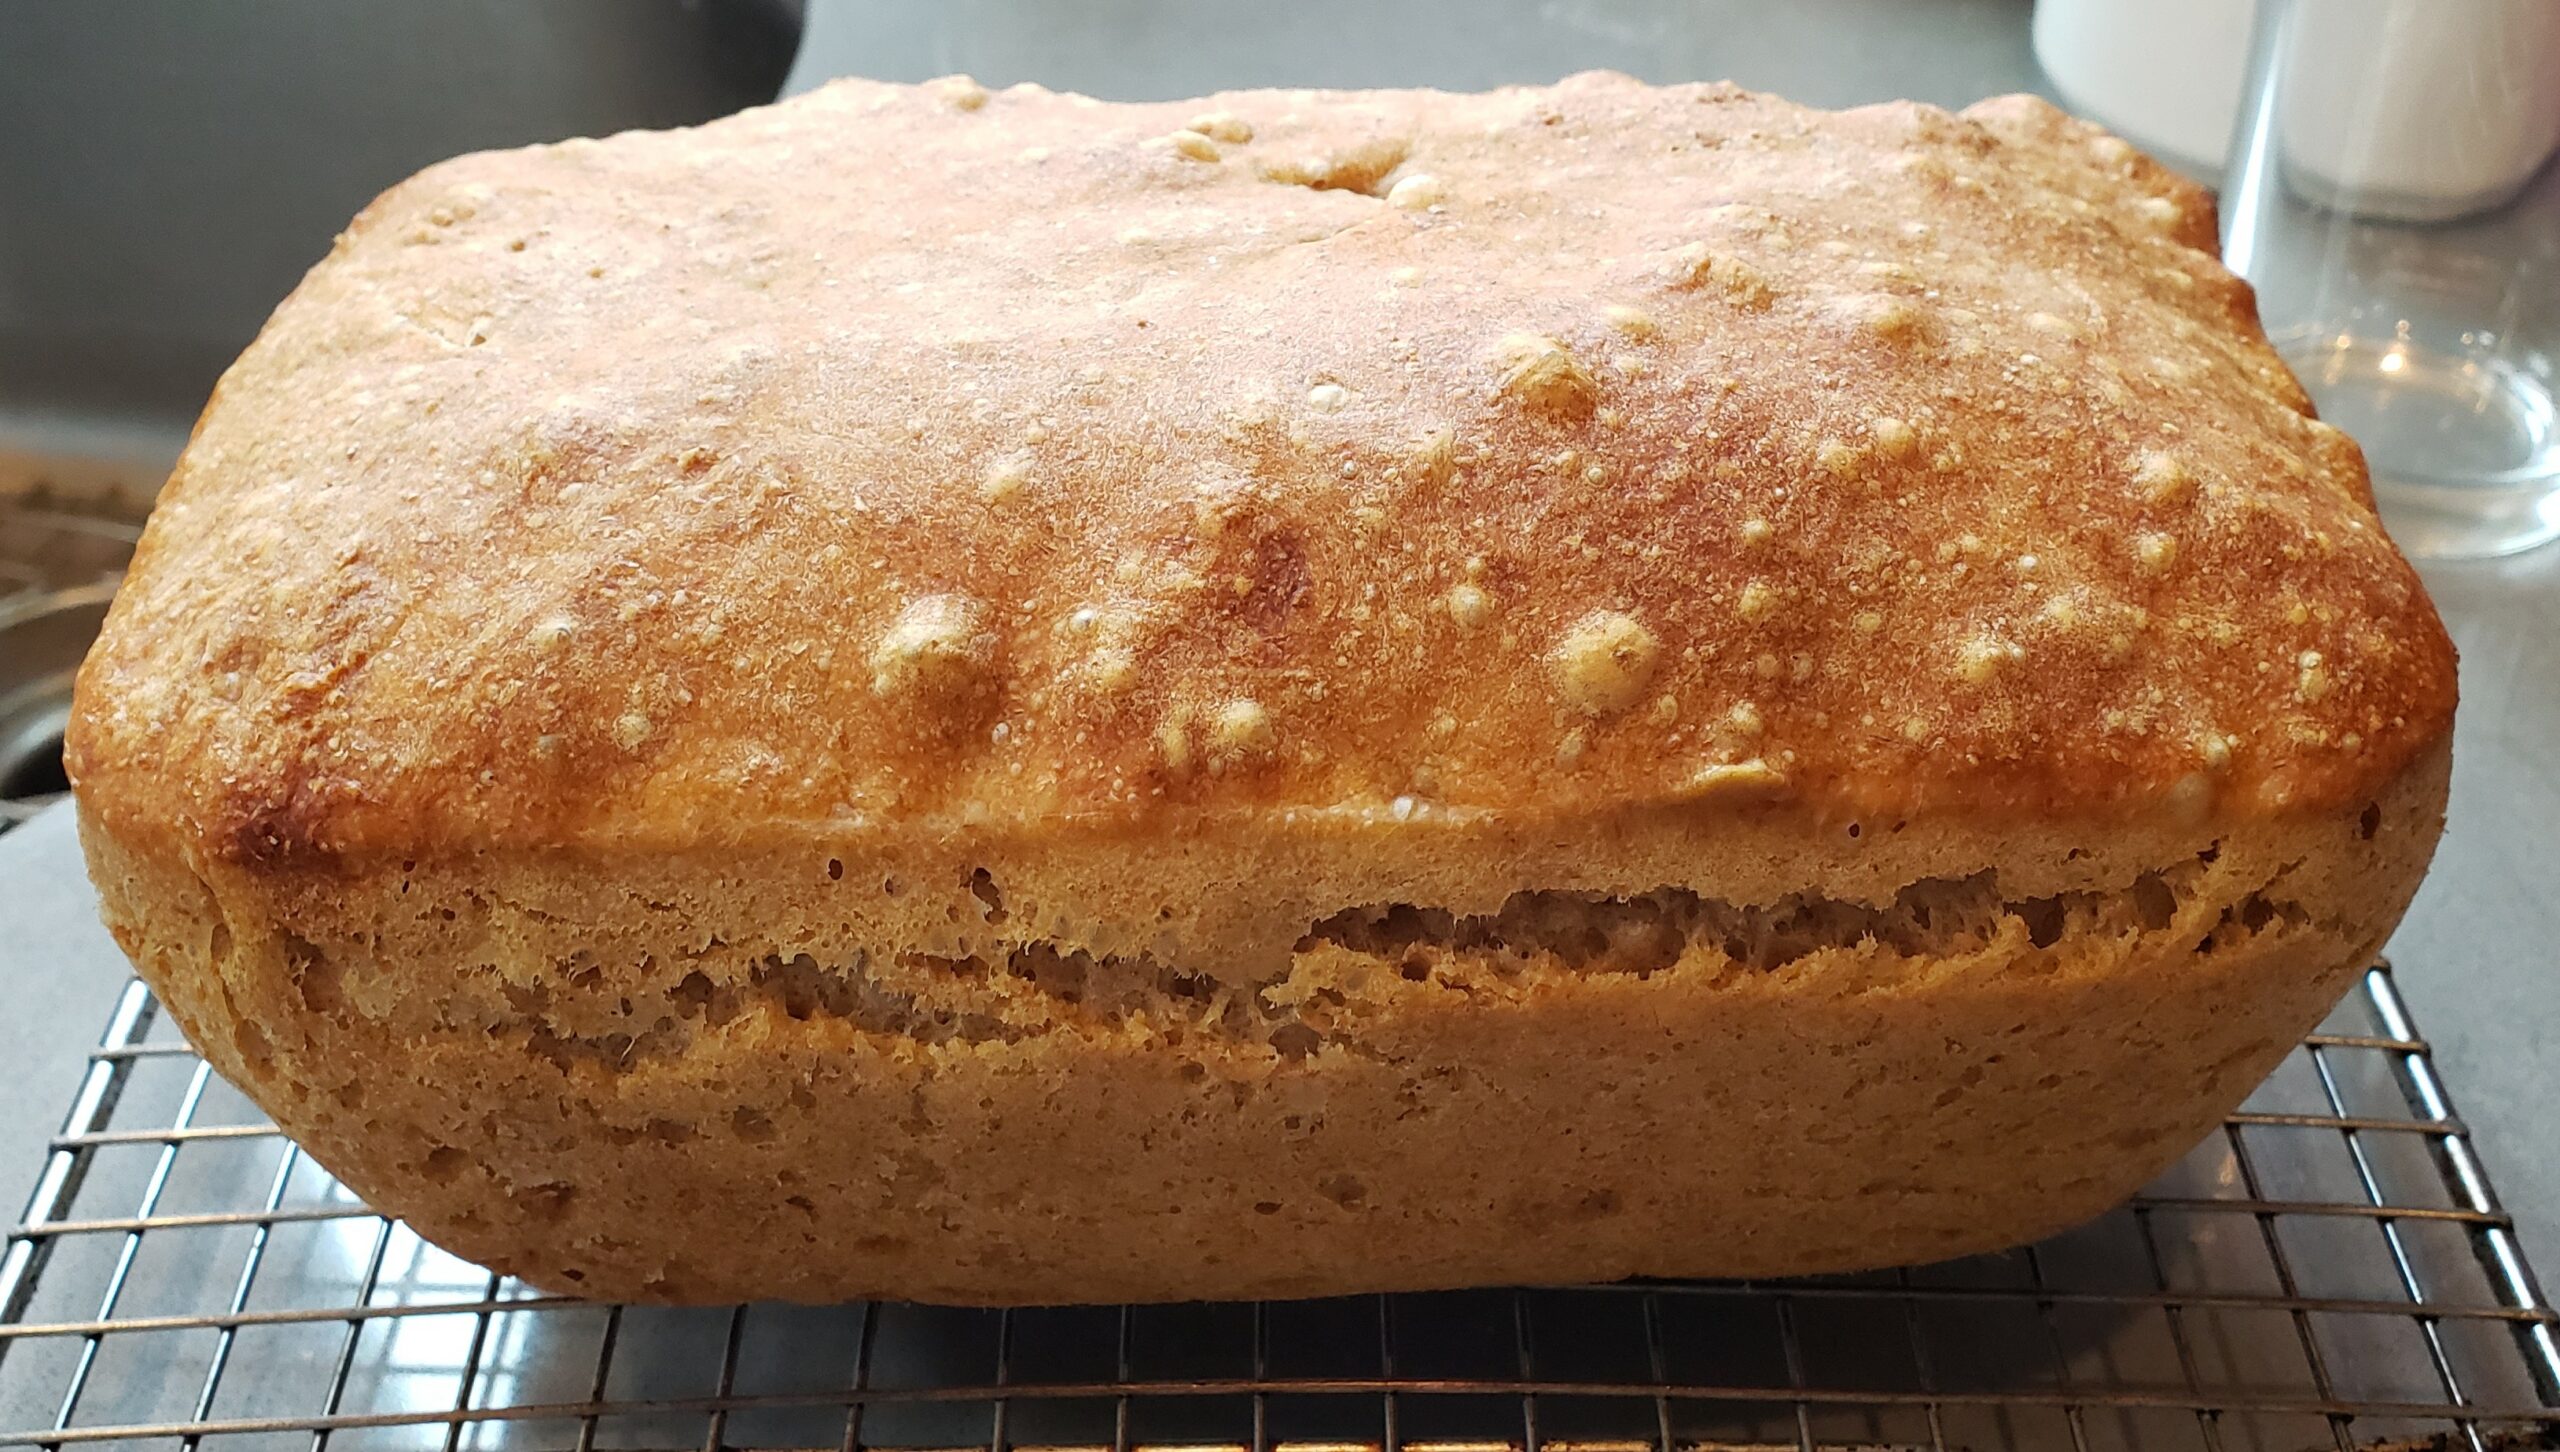
There she is. It should sound hollow if you knock on it.
Remember to let the loaf cool completely before slicing so the crumb can properly set, and the bread can adsorb all steam.
This bread is so versatile and tasty. It’s great just as toast, I make garlic bread from it, it’s an ideal shingle for SOS, Avocado toast is really popular! I even take slices and cover them with cheese and sauce and put them under the broiler until I have mini-pizzas!
Still the #1 use for this bread in my house is this:
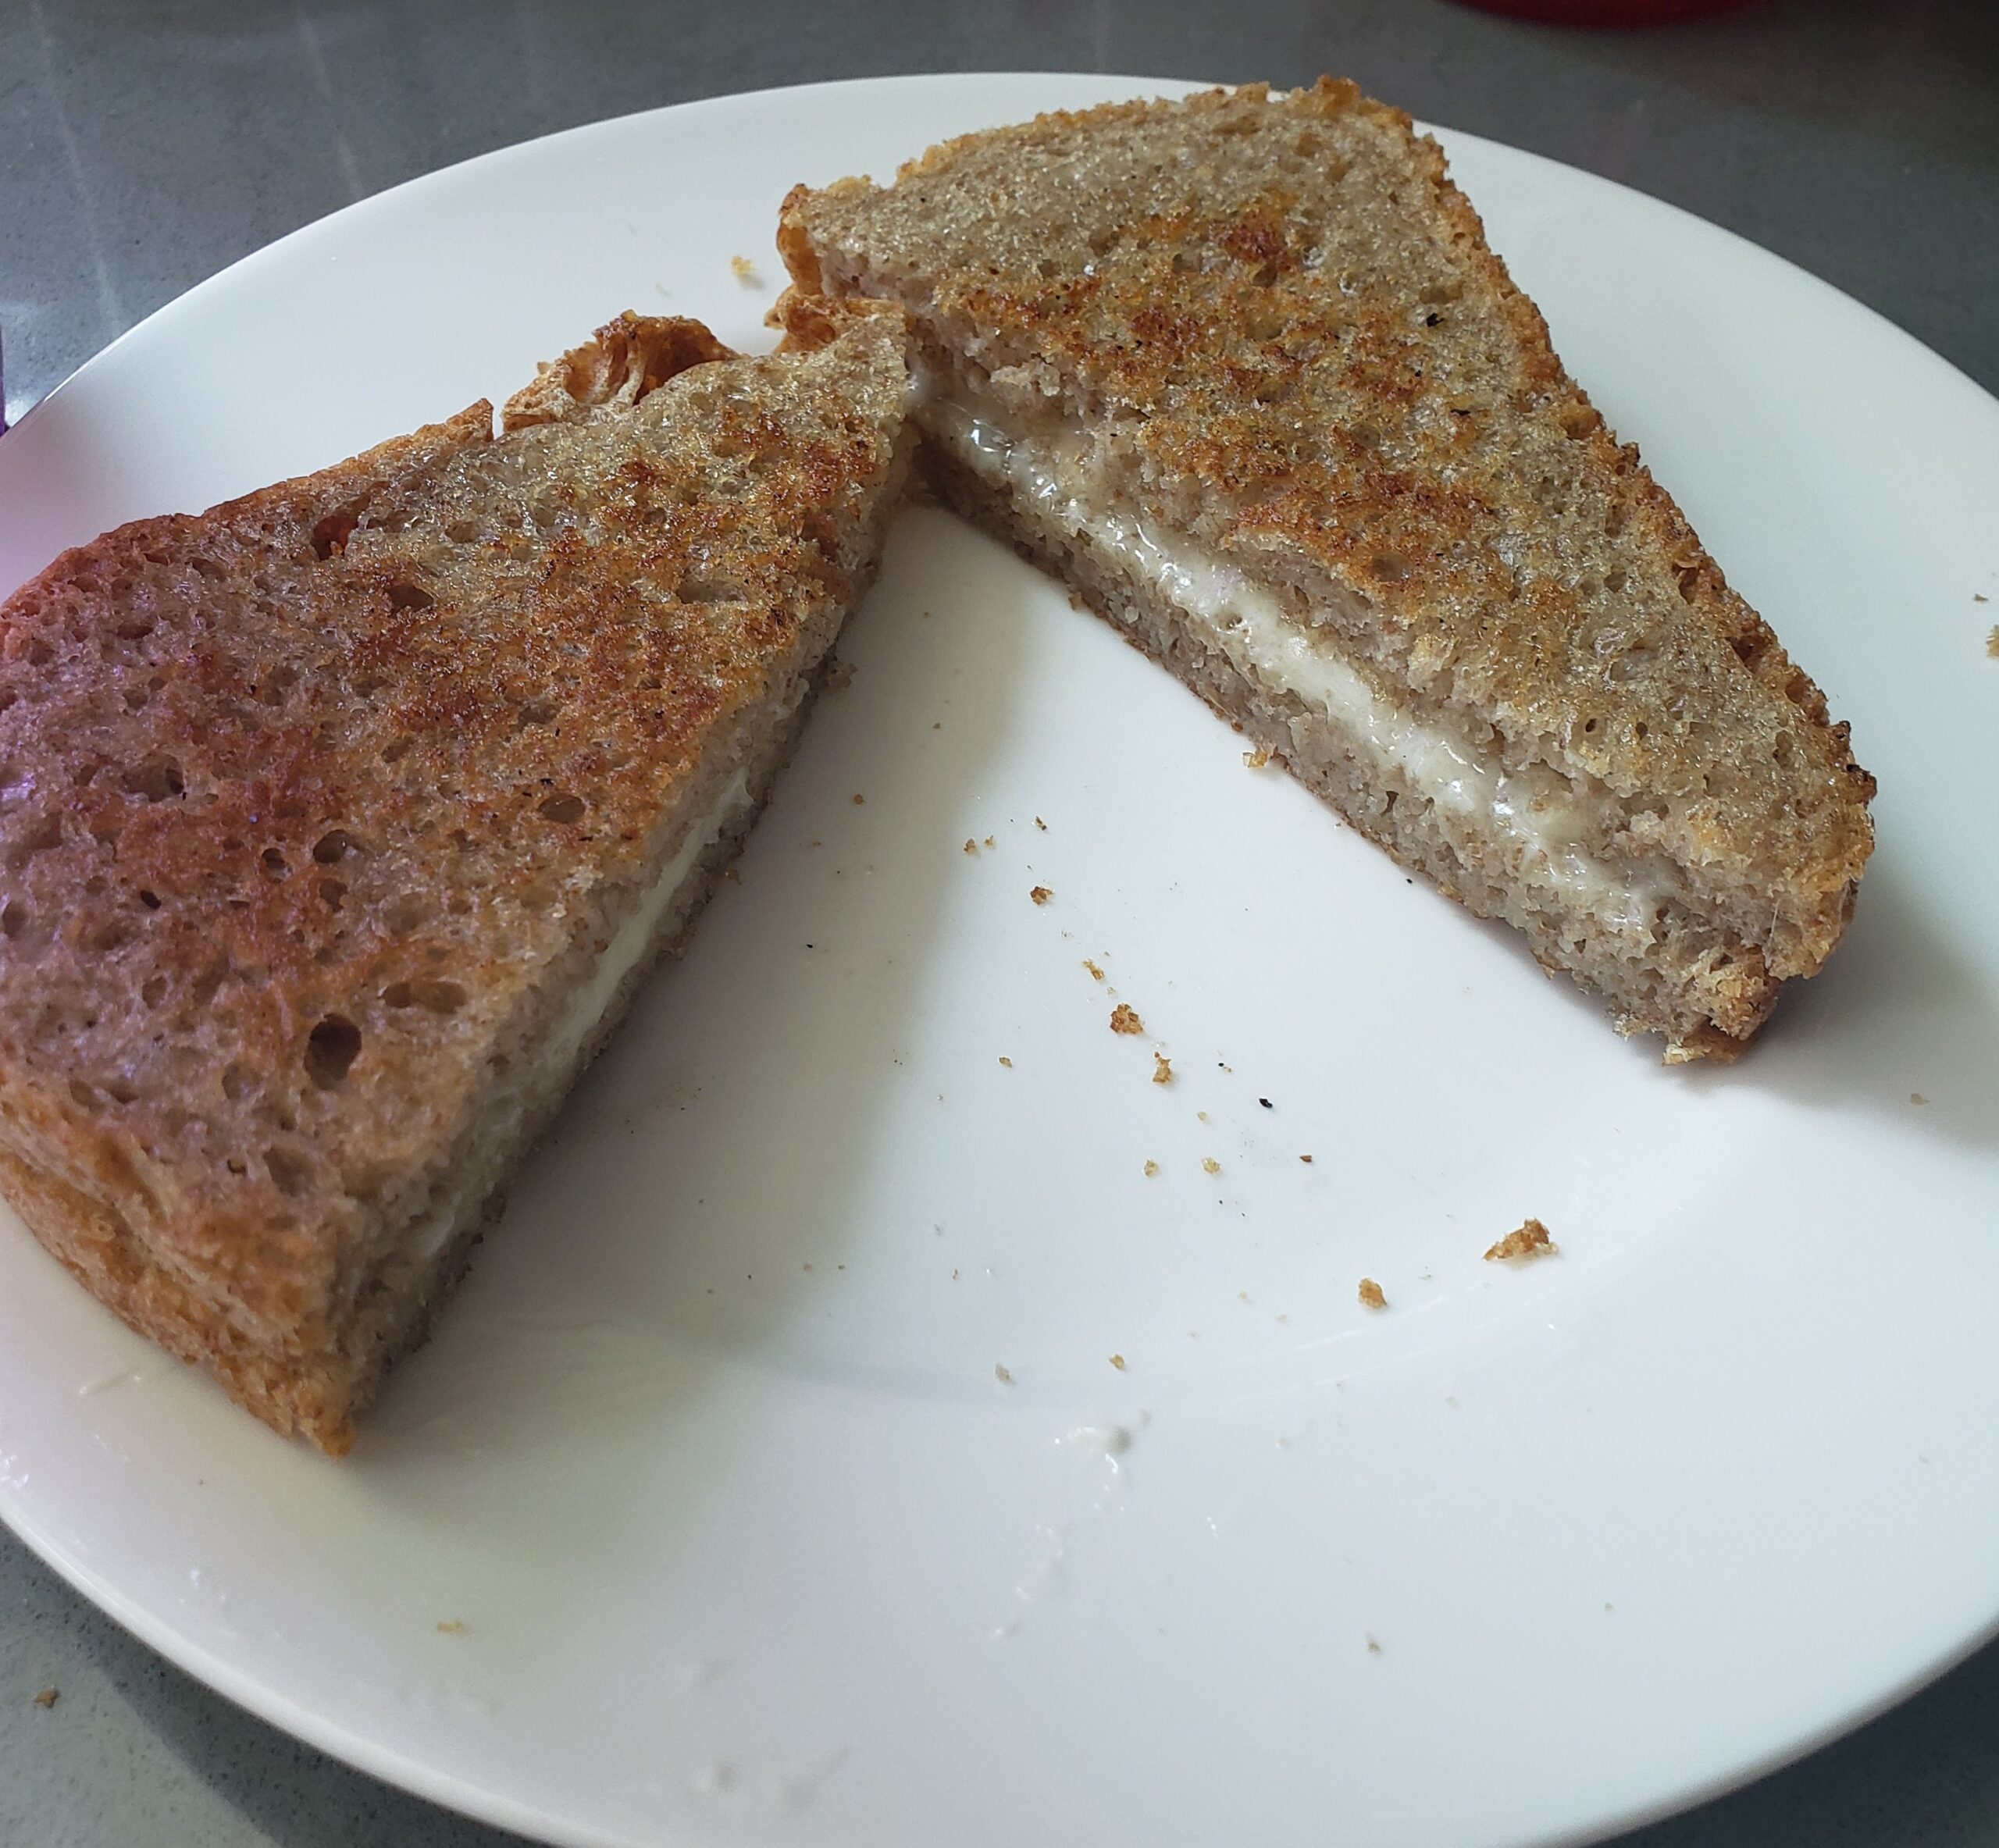
Grilled cheese! Man when my daughter was eating lunch at home every day during COVID and my wife was working from home, a loaf like this would last 3 days!
So it’s worth a try, since it’s VERY easy to do, especially with the techniques I mention here. I find that the no-knead bread tastes better than standard bread recipe because all that extra rising time really develops a lot of flavor. Also the materials I used are DIRT cheap, so a loaf like this doesn’t even cost a dollar to make. I think it makes a lot of sense, even for those of you who work full-time. Just make the dough in the evening. When you wake up put the loaf in the GREASED pan and let it proof, then toss it in the oven for 30 mins, and then dump it on a cooling rack and put it away after work.
If you roll out of bead and immediately head to work, you could reverse the time by making the dough first thing in the morning, and proof and bake after work.
Either way, give it a try!
**UPDATE**: My Daughter noted she liked the TASTE of the bread, but liked how grilled cheese sandwiches at restaurants were softer, so I added 2 tablespoons of oil to the dough. The end result is a much softer loaf that seems to stay soft even when left in a bread box or bag on the counter….within reason of course, if you don’t eat your bread quickly I find wrapping it in foil or a plastic bag and putting it in the fridge keeps it for a week or two just fine.
**UPDATE 2** I just found some magic! If you take the bread (even the loaf without the oil) and wrap it in a towel while it cools on the rack the crust will be MUCH softer, and closer to store-bought sandwich bread.